Install Chat GPT plugin for TinyMCE
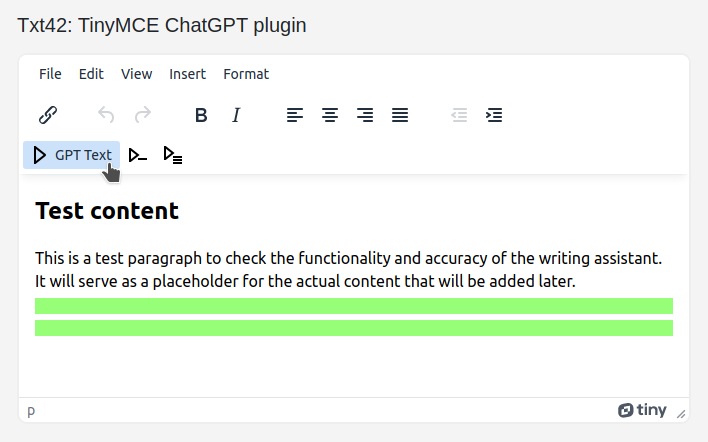
Generate texts for your websites with the Chat GPT plugin for TinyMCE. You can select some text, or just place a caret and press a toolbar button, and AI will write a text for you and insert it at the cursor.
You can easily install the Txt42 ChatGPT TinyMCE plugin and add three buttons to the toolbar: one for fast copywriting by text generation and two for the same purpose but when you need less or more content. Alternatively, you can simply press Ctrl+Enter literally everywhere, and this smart plugin will understand what and where you need to write based on the text before and after, as well as headers and lists near the caret.
Enable
Find the place in your HTML/JavaScript code where you load TinyMCE and enable the ChatGPT plugin in initialization parameters and add the toolbar buttons:
tinymce.init({
    plugins: "chat-gpt",
    apiKey: "TXAIAUTO", // Default key. Get own: https://txt42.ai/dashboard
    toolbar: [
        'Txt42 Txt42Less Txt42More | bold italic |  fontsize blocks |
        alignleft aligncenter alignright alignjustify | forecolor backcolor removeformat',
    ]
});
To get your own API key, sign up for free on the Dashboard.
